Canning Made Easy: A Step-by-Step Guide to Home Preservation
There’s something deeply satisfying about lining up jars of colorful fruits and vegetables, neatly sealed and labeled, ready to brighten your pantry through the colder months. Home canning is a timeless, rewarding way to preserve the best of the harvest. And while it might seem intimidating at first, it’s surprisingly easy once you know the basics.
Why Try Home Canning?
Canning allows you to store fresh produce safely and naturally without relying on refrigeration or preservatives. It’s a way to reduce food waste, save money, and keep your pantry stocked with healthy, ready-to-use ingredients. From tangy pickles to sweet jams, home-canned foods are full of flavor—and pride.
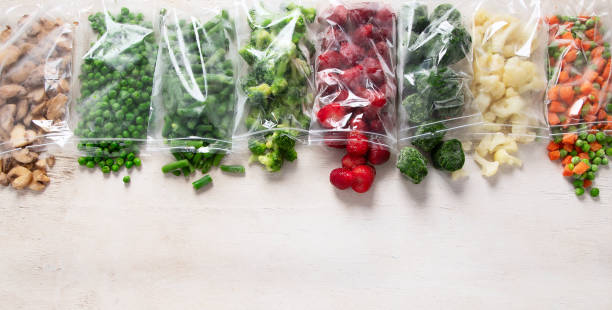
Step 1: Choose What to Can
Start simple. Great beginner-friendly foods include tomatoes, cucumbers (for pickling), berries (for jams), green beans, peaches, and apples. Pick fresh, firm, and ripe produce. The better the quality going in, the better the result coming out.
Step 2: Gather Your Equipment
You don’t need fancy tools—just the essentials:
– Clean glass jars with matching lids and rings
– A large pot or water bath canner
– Tongs or jar lifter
– A funnel (for mess-free filling)
– Clean cloths and labels
Make sure jars are sterilized by boiling them or washing them in a hot dishwasher cycle.
Step 3: Prepare the Recipe
Follow a trusted canning recipe closely, especially the proportions of acid (like vinegar or lemon juice) to ensure food safety. Prepare your fruits or vegetables—peel, chop, or mash them as required. Bring your preserves, pickling brine, or sauces to a boil.
Step 4: Fill and Seal
Using your funnel, fill hot sterilized jars with the prepared food, leaving some headspace (usually 0.5 to 1 cm). Wipe the rim with a clean cloth. Place the lid on and screw on the ring gently but firmly.
Step 5: Process in a Water Bath
Place the sealed jars into boiling water (the water should cover the jars by at least 2–3 cm). Boil for the recommended time based on your altitude and the recipe. This kills bacteria and creates a vacuum seal. Remove jars carefully and let them cool undisturbed for 12–24 hours.
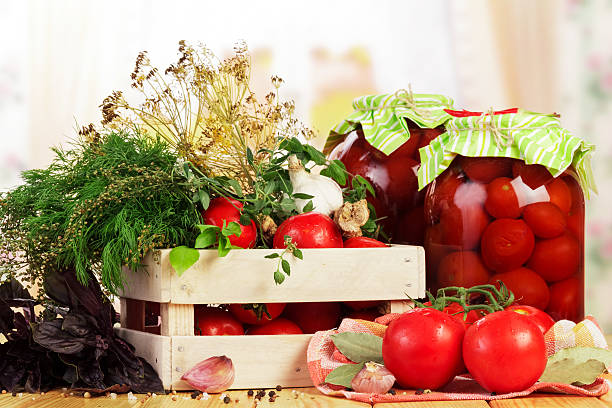
Step 6: Store and Enjoy
Check the seals—if the lid doesn’t pop when pressed, it’s sealed. Label the jar with the name and date, and store in a cool, dark place. Properly canned goods can last up to a year or longer and are perfect for easy meals, gifts, or seasonal treats.
Tips for Success
– Always use trusted recipes for safety.
– Don’t skip sterilization—it’s crucial.
– If a jar doesn’t seal, refrigerate and use it first.
– Experiment with spice blends to make your pickles or sauces unique.
Canning transforms everyday produce into shelf-stable gems that preserve the essence of summer. With each jar, you’re not just saving food—you’re saving memories, flavors, and the joy of homegrown abundance.